
Learning how to install gutters is a valuable skill for homeowners looking to protect their property from water damage. Properly installed gutters prevent foundation issues, siding damage, and basement flooding. This guide breaks the process down into clear steps so you know what to expect, whether you plan to DIY or hire a professional.
- Why gutters are essential for home protection
- Tools and materials needed before starting
- Step-by-step installation process explained
- Safety tips to follow during gutter installation
Why Gutters Are Essential for Every Home
Rain gutters play an important role in directing water away from your home. Without them, water can pool around your foundation, seep into your basement, or damage your siding and landscaping. Installing gutters is one of the most effective ways to protect your home’s structure and long-term value. Before you begin, it’s helpful to understand what makes a gutter system effective and why correct installation is so important.
Problems Caused by Missing or Faulty Gutters
- Foundation cracks: Water pooling around the base of your home can weaken the concrete.
- Basement leaks: Improper drainage often leads to flooding during heavy rains.
- Siding damage: Water running down walls can cause staining and rot.
- Landscape erosion: Excess water washes away soil and damages plants.
Benefits of Proper Gutter Installation
- Water control: Directs rainwater safely away from your property.
- Home protection: Prevents damage to siding, roofing, and windows.
- Increased value: Well-maintained gutters improve curb appeal.
- Peace of mind: Reduces the risk of costly repairs after storms.
7 Steps to Install Gutters Correctly
When learning how to install gutters, following a clear process ensures accuracy and effectiveness. Each step builds on the last, so take your time to get it right.
- Plan the layout: Measure rooflines and determine where gutters and downspouts should go. Consider downspout location carefully to ensure water drains far enough from your foundation.
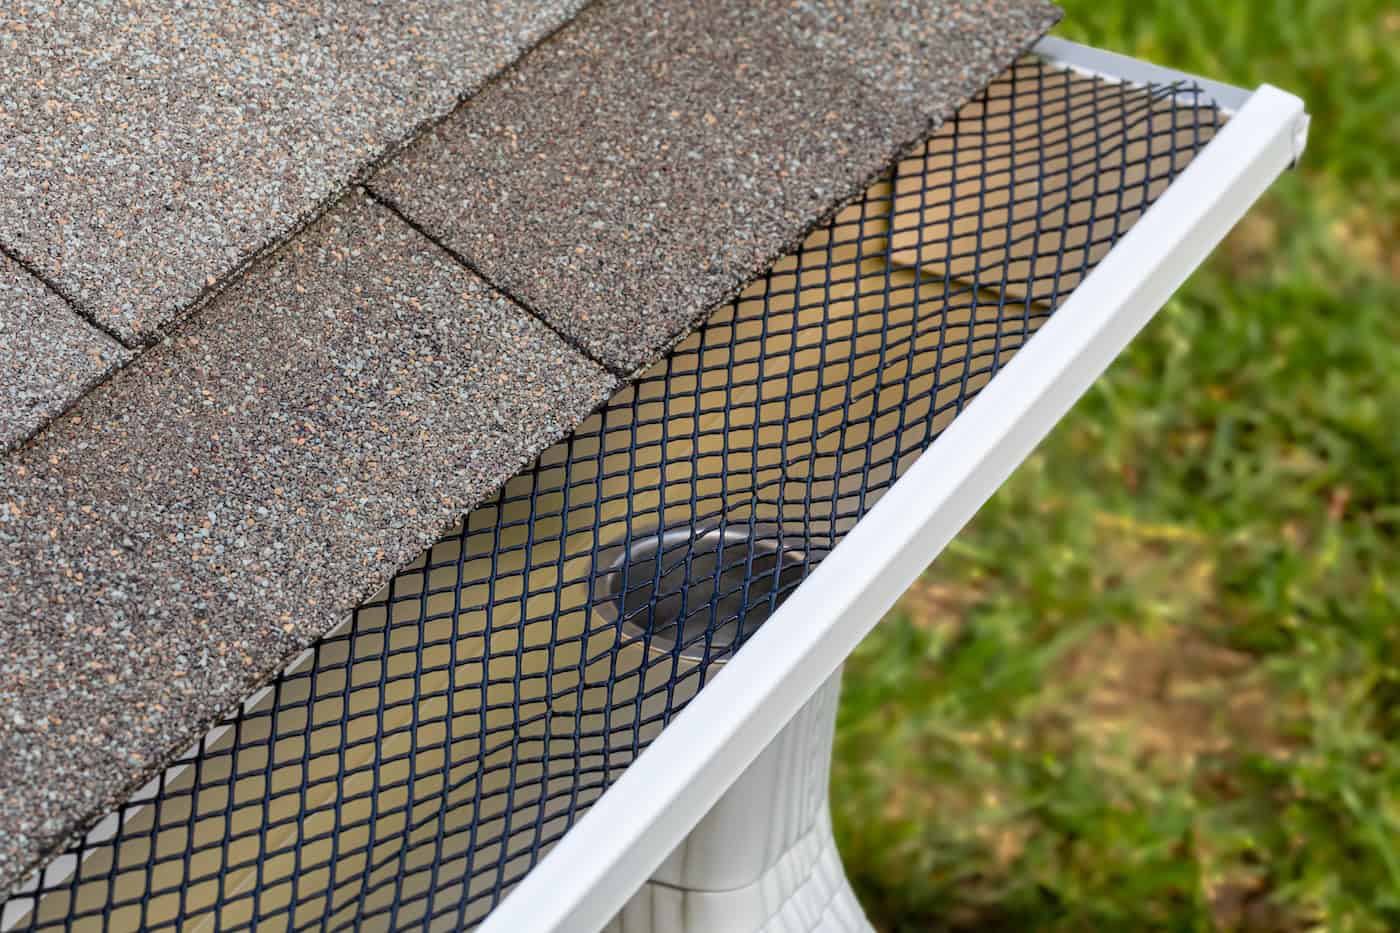
- Gather materials: Collect gutter sections, downspouts, hangers, fascia brackets, end caps, and sealant. Some homeowners also add gutter guards during installation to reduce future clogs.
- Mark the slope: Ensure gutters angle slightly toward downspouts for proper drainage. Pay attention to rafter tails, since they often dictate where fascia boards and brackets can be installed.
- Attach hangers: Secure gutter hangers along the fascia at consistent intervals. Using a metal drip edge flashing along the roofline also helps protect the fascia from water damage.
- Install gutter sections: Connect pieces, sealing joints to prevent leaks. Corners are best joined with a strip miter, which provides a clean, watertight connection between two sections.
- Add downspouts: Attach downspouts to guide water away from your foundation. Drill a screw mounting hole for each bracket to ensure a secure fit.
- Check for leaks: Test the system with water to ensure smooth flow and tight seals.
Tools and Materials You’ll Need
Before installing gutters, it’s important to gather the proper tools and materials. Having everything ready ensures a smooth installation process and helps avoid mistakes that could lead to leaks or poor drainage. Below are some of the most important items every homeowner should have before starting a gutter project.
Tape Measure
Accuracy matters when learning how to install gutters, and a tape measure is one of the most valuable tools in the process. It allows you to measure the roofline, determine the slope, and cut gutter sections to the right length. Even small measurement errors can cause poor drainage, so take your time when using this tool. Many homeowners find it useful to write down each measurement before cutting.
Cordless Drill

A cordless drill is essential for securing hangers and brackets to the fascia boards of your home. Using screws instead of nails provides a stronger, longer-lasting hold, especially in areas with heavy rain or storms. When attaching downspouts, you’ll also use the drill to create a screw mounting hole for each connection. Choosing a lightweight model will reduce arm fatigue while working at roof level.
Ladder
Since gutter installation requires working at the roofline, a ladder is necessary for nearly every step of the process. A sturdy extension ladder is ideal for reaching higher areas safely. Always place it on level ground and consider using ladder stabilizers for extra security. Installing gutters often requires moving the ladder multiple times, so having a second person to hold it steady can improve both efficiency and safety.
Gutter Sections and Downspouts
The main components of any system are the gutter sections and downspouts. Aluminum and vinyl are two of the most common materials, offering durability and weather resistance. Downspouts guide rainwater away from the foundation, preventing damage to basements and landscaping. Ensuring these pieces are measured correctly and securely attached is critical to your gutter system’s overall success. Choosing high-quality materials can also reduce long-term maintenance.
Sealant
Even the best gutter sections need proper sealing to prevent leaks at the joints. A durable exterior-grade sealant ensures water flows smoothly through the system without escaping at seams. Applying sealant correctly during installation saves time and money by reducing the likelihood of future repairs. For homeowners in areas with frequent rainfall, investing in a high-performance sealant is a small step that makes a big difference in system longevity.
Should You DIY or Hire a Professional?

Some homeowners feel confident tackling diy gutter installation, while others prefer hiring professionals. Choosing the right approach depends on your comfort level with tools, heights, and precision work.
Pros of DIY Installation
- Cost savings: Avoids labor charges by doing the work yourself.
- Flexibility: Allows you to work at your own pace.
- Learning experience: Builds skills you can use for future home projects.
Pros of Hiring a Professional
- Expert precision: Contractors ensure correct slope, sealing, and placement.
- Warranty coverage: Many companies back their work with guarantees.
- Time savings: Professionals complete installation faster.
- Safety assurance: Reduces the risk of accidents from ladders and tools.
Protect Your Home with Walsh Roofing Services
Knowing how to install gutters is valuable, but professional installation ensures the best long-term results. Walsh Roofing combines expertise, quality materials, and local knowledge to create gutter systems that stand up to heavy rainfall and storms. From selecting the right rain gutters to properly placing each downspout location, our team delivers dependable results. We can also recommend add-ons like gutter guards, fascia brackets, or metal drip edge flashing for even greater protection.
Contact Walsh Roofing today to schedule your free inspection and discover how new gutters can keep your home safe for years to come.